CLICK HERE FOR BLOGGER TEMPLATES AND MYSPACE LAYOUTS »

23 October 2010

My first paid project

This is the first time I have actually been paid to sit down and do a scrapbook.  Please let me know what you think.  I am always the most critical of my work, but sometimes overly critical.  This is just a few of the pages I have created.

This page I stitched done the right side with variegated floss.  I cut out the word engagement from Calligraphy at 2" I believe. And yes it is black and white.

For this page I copied the marriage licsense and crinkled it.  I rubbed distress inks on the crinkles then ironed.  I took a lighter and burned it in various spots.


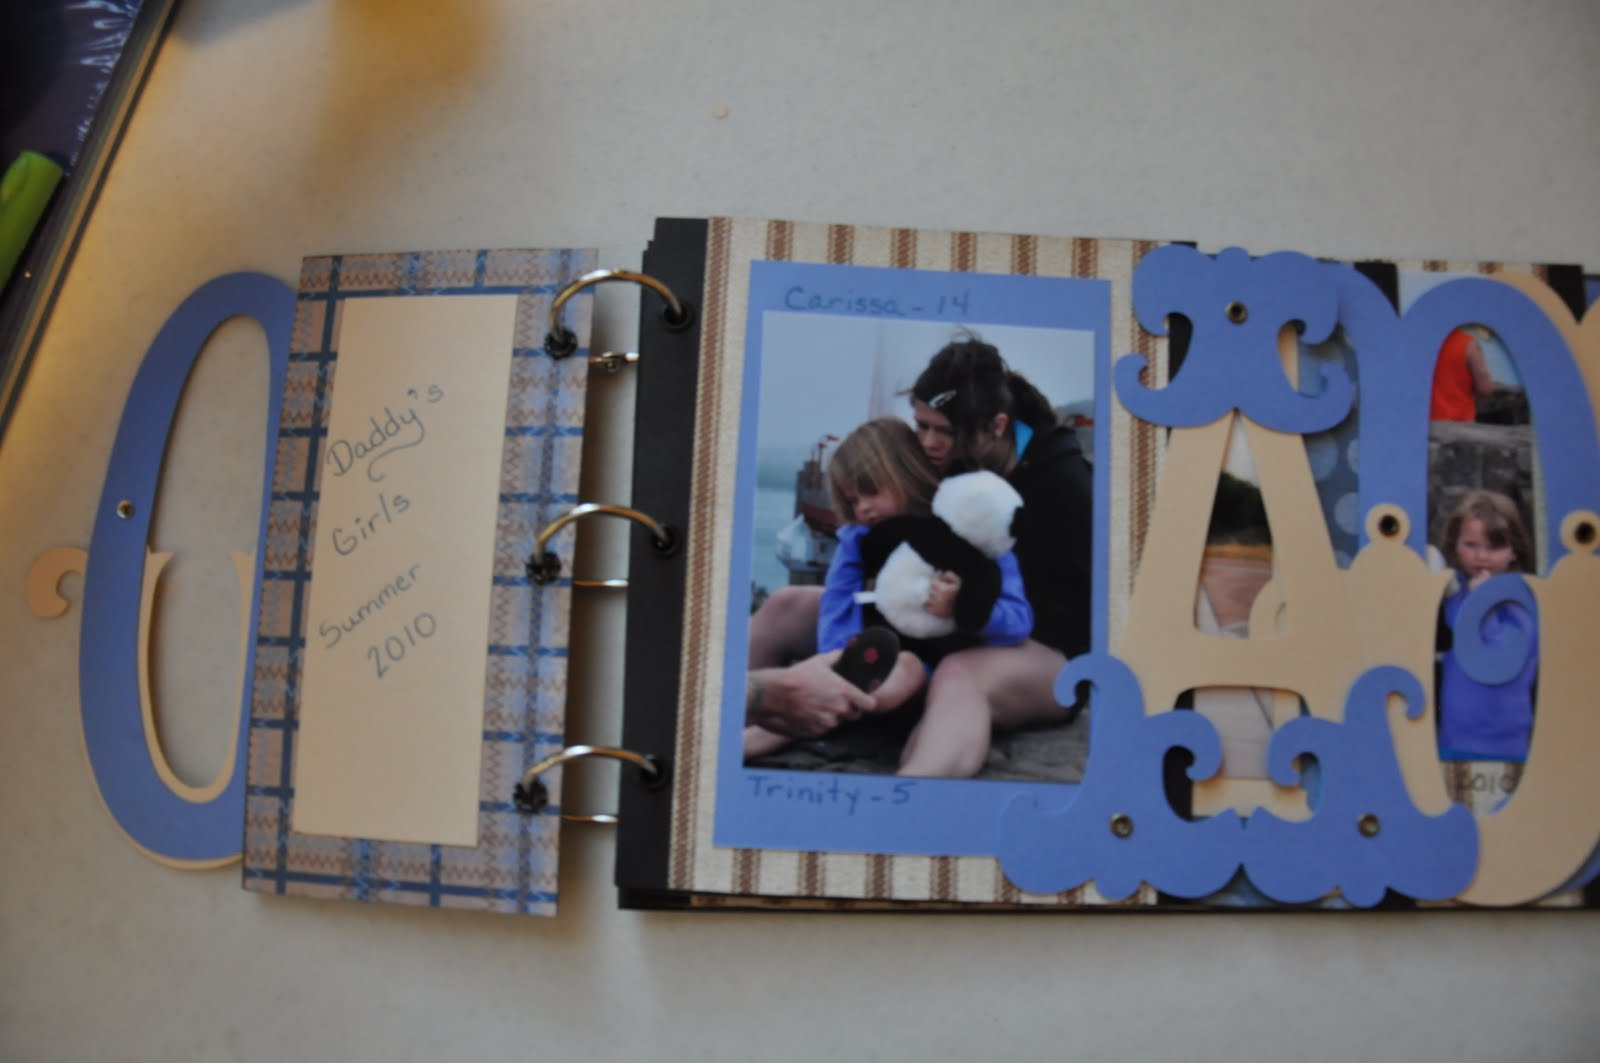
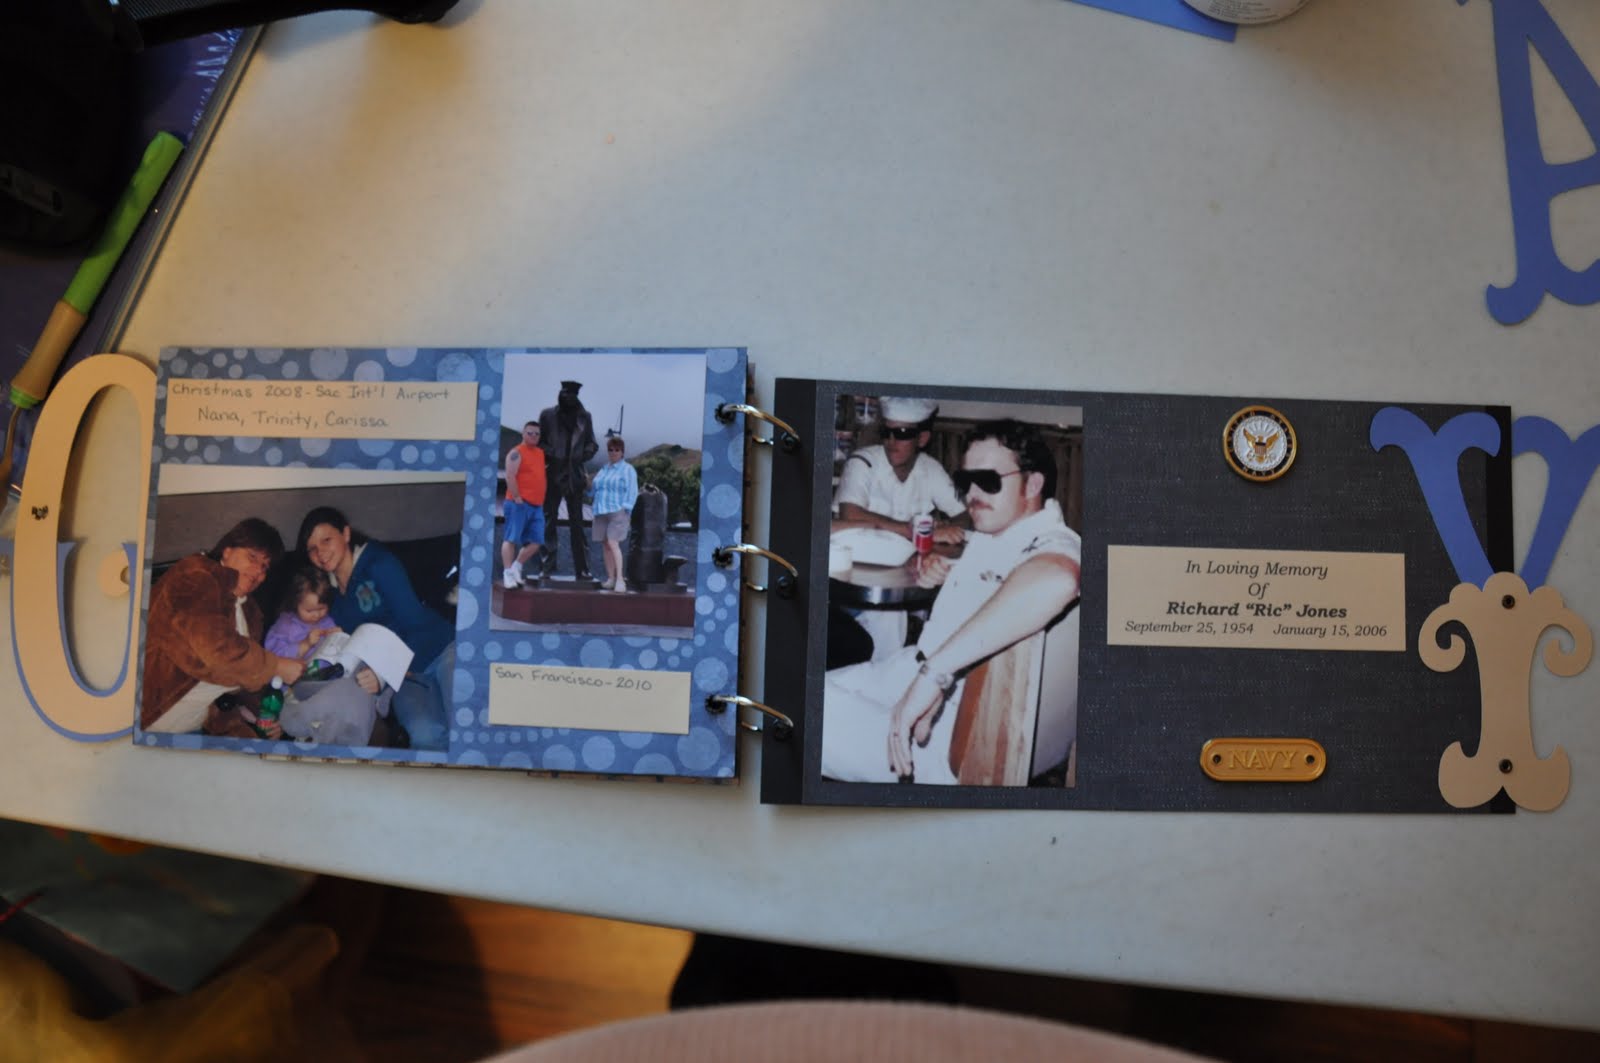
These two pages are part of four.  I cut the letters from Tie the Knot at 2" I think.

This is a three page spread but only posted two.  I used Storybook for the letters and butterfly corners.

I didn't do much to this just layered it to pop the picture.
Again another simple page.  Added a few embellishments and a couple mats.

I actually colored the background paper with a cosmetic sponge and Cyan Colorbox ink.  Still working on this page but liked the effect.

Two page layout.  I cut the top picture and placed perfectly together so it looks like one big page.  Inked the edge of the flower paper.

I used wrapping paper for the background and Storybook for the letters cut at 2".

Thanks for looking.  Hope you enjoyed what you saw.

31 July 2010

Sympathy Card

This is a card created for my mom's friend who just lost her husband.  I used Home Decor butterfly cut at 2", 1 3/4", and 1 1/2".  Background stamped with stampscapes crooked branch.  Hope you enjoy.


Bridal Shower Card

This is a card for a friend's bridal shower I went to today.  The corset is from the Tie the Knot cartridge cut at 4 3/4".  The gift card holder is envelope 3 from NA cut at 3".  I used the Swiss Dots and Lace cuttlebug folders as well.  Hope you enjoy.


15 July 2010

July 15th Challenge

I started this accordian mini album with a 12x12 piece of solid blue cardstock from DCWV.  I cut it into 2 pieces 6x12 and glued them together after folding them every 4".
For the cover page I sanded the solid paper and used Lettuce ink pad by Ranger.  For the background sheet I cut a piece of glossy photo paper and used alcohol inks (Gold, Lettuce, Slate, and Meadow).  I used clear studio G stamps from Michael's for the lounger and relax.  Then used bubble letters for the title.
For this page I used photo real paper that looked like water and used the Puzzle Frame from Sizzix that I had cut a long time ago.  I placed it on a lighter blue background cardstock.
This page I cut a piece of glossy cardstock and used alcohol inks (Eggplant, Slate, Lettuce, and Silver).  I used a metal tag and attached a Ocean color snap to hold it in place.  I wrote the title Learning to Swim and drew the bubbles. 
I cut the waves from Life's a Beach at 1 1/2" and then ran them through the Cuttlebug using D'Vine Swirls.
I cut the bikini and shorts from Life's a Beach at 1 1/2".  I added polka dots to the bikini with a black Sakura Glaze Pen and added two hibiscus flowers to the shorts with Sakura souffle pens.

Please check out the cricut mini album website to see all of the design teams wonderful projects.

02 July 2010

July 2nd Challenge

This CD album is for our design team challenge over at www.cricutminialbums.com.  Pop on over and check out all the great albums the design team has been making.  This one is a summer themed mini album.


I used Plantin Schoolbook to cut 4 3/4" square for the background papers, glued them to the CDs and then trimmed off the excess.  I used Life's a Beach for the 2010 title cut at 2 1/2", California Dreamin' at 2 1/2", and flip-flops at 1 1/2".  I cut all photo mats with a paper trimmer at 2 1/2"x 3 1/2".  I used a Crop-a-dile to punch the hole in the CDs and a binder ring to bind it all together.

This is the cover for the album.  The back of the album is covered in the same Road Trip paper.
These are the next pages of the album.  Using photo real paper of water and sand I added skittles for a little extra splash to these beach pages.
Now we have the ice cream pages.  I used solid card stock in bright orange and pink.  I used cosmetic sponges and dabbed color box inks in yellow, orchid, cyan, and white for a fun look.
Peel offs and bright orange paper are a great add-on to this pink and white hibiscus paper.  I used Sakura gel pens on white paper to color in the dragonfly and butterfly and trimmed around them, add pop-dots for some extra dimension.

These last two pics are the final two pages of the album minus the back cover.  I sponged Adirondack inks in lettuce on the leaves of the palm tree and then put lines on it using Sharpie extra fine point pens to make it pop.  I also added squiggles to the mats for an interesting look.


I hope you enjoyed looking at this album.  Please don't forget to check out the mini album website and leave me a comment.

18 June 2010

June 18th Challenge


This is my word book for the challenge over at Cricut Mini Albums I am part of the design team.  Please pop on over and check out all our talented designers.  I have never done a word book before and it was a lot of fun to do.  I used Storybook at 6" for the letters and cut everything else with a paper trimmer.  Pages are 6x3, 6x5, 6x7, 6x9, and 6x11.


This is my daughter, Trinity, and step-daughter, Carissa, while we were in San Francisco earlier this year.
This is Carissa when she was 5 with my husband.

This is some random pictures of the two girls.  The little one on the left is Trinity at 18 months and on the right page is Carissa when she was 18 months.
This last page is a tribute to my father-in-law who passed away in 2006.
Thought it was the perfect end to this book for my husband.